Sometimes you will need to mass update all or a subset of records in your Salesforce Org. Being able to mass update Salesforce records with a checkbox is one of my all time favorite admin ‘hacks’. The way to implement is to create a checkbox only visible to the System Admin profile, and use it with your favorite tool – whether it is using Data Loader, Workbench, X-Author, or Demand Tools to check that box – you can update a subset or all of your records. How is this possible?
How to Mass Update Records in Salesforce
There are many reasons to mass update records in Salesforce. Let’s say that you just created a workflow rule or used process builder to build a process that will update records when ‘created or edited to meet the criteria’. What do you do for the records that might not have been updated after this rule has been created? That’s what this checkbox is great for!
After the workflow rule or process is built, you would need to make some sort of update to each record, regardless if the the criteria is met, to enforce the record’s rule or process is run. Let’s walk through the process of how to build this checkbox updater:
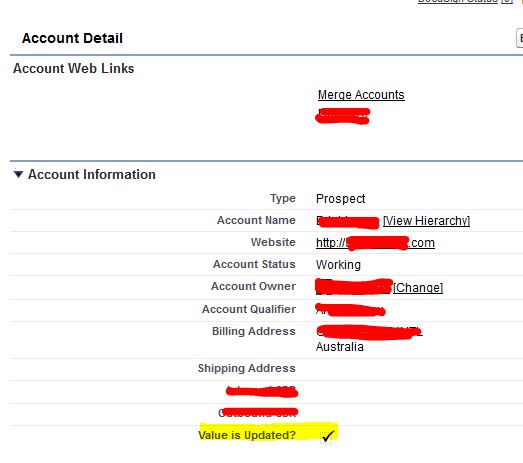
First, let’s create the checkbox. In this example, we will create this field on the Account object. We can just use the name, “Value is Updated?”. Have the default value of this field be ‘unchecked’. Let’s make this field visible and editable to only System Administrators, and assign to the Sys Admin page layout (if you have one available). The result will look something like this on your page layout:
Now, say you built a new workflow rule that will run anytime a record is created or updated to meet the criteria. You can manually go through each of the Account Records and make a slight edit on the page, to have the workflow rule run.
But what fun is that?
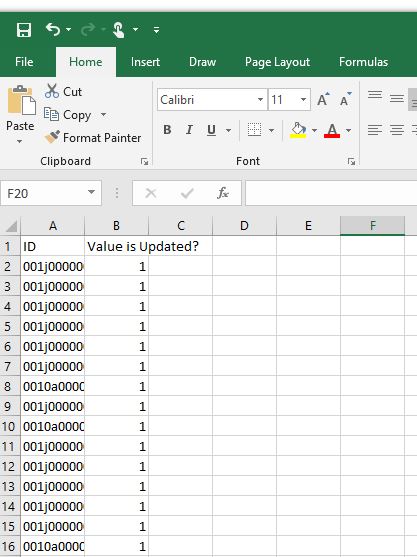
As an administrator, we like to automate as much as possible, and use ‘clicks not code’ to do so. In this situation, just pull a filtered report with all the account ids and this checkbox field. Once the CSV has been exported, let’s mark the checkbox as “True”. We do this by the 1/0 true/false statement, where 1 means true. Since the default is set to 0, we’ll set as one.

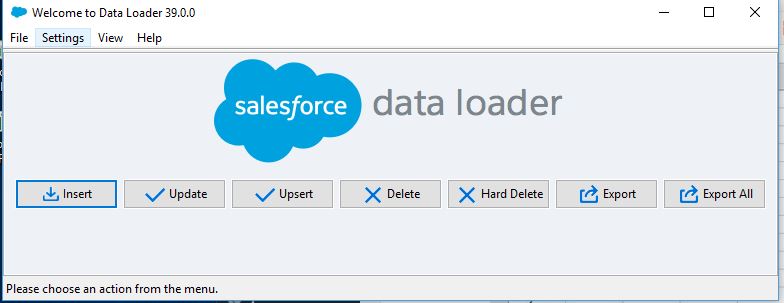
Save the CSV, and pull open your favorite ‘bulk updating’ tool. I prefer to use Salesforce’s own Data Loader. Open up the Data Loader, and select the “Update” button.

You will most likely have to log in. Once you login, you are able to select the object to update. In our case, select the Account Object and open up the CSV we just saved. Match the column header names with the corresponding fields in Salesforce, and confirm update:
By making an update to a record through a field that has no real impact on business processes, this will then take a look at any Salesforce process or workflow rule, and will cascade the rule throughout all the records that were ‘updated to meet the criteria’. Congrats, your rule has been created and applied to all the records you had in the original report!
What are your thoughts on this simple hack? As a Salesforce admin, do you have any other tricks used to make your life easier? If so, share them with me in the comments below!
