There are a few ways that you are able to implement timestamping a date field based off of checkbox in Salesforce. This article will go into two different ways to solve this requirement, and in between will discuss the trade-offs between using each potential method.
Automation of timestamping has a variety of uses. This process can be used to track different stages of an opportunity’s lifecycle, figure out when a field was last updated, setting a future task, and many more use-cases.
From a timestamp, you are able to report on the exact date a closed opportunity was created, qualified, and when a user sent out the quotation. You can also use the timestamp to set future follow up date on the field. Lastly, you can figure out the last time the field was updated, and follow back up on those Accounts/Contacts, or Opportunities that may have become stagnant.
How to Timestamp a Date Field in Salesforce
The two ways to timestamp a date field in Salesforce are:
- Creating a formula field that updates to now or today.
- Using a workflow rule and a field update.
In the first section, we’ll go into how to use a formula field to manage this requirement.
Method #1: Creating a Formula Field to Timestamp a Date
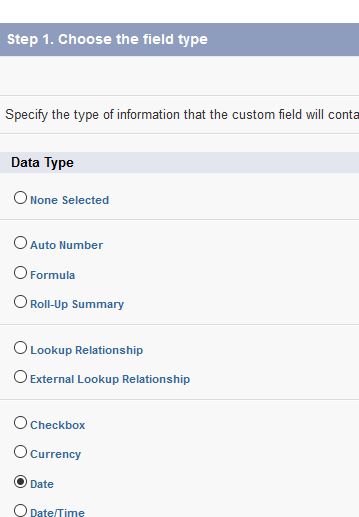
The first method of timestamping a date field is to make a formula field that will return a date. This is assuming you’ve already created the Checkbox field. Let’s create our new field, and set the field type to “formula”:
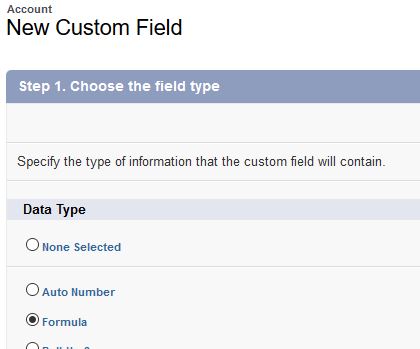
We’ll want the formula to return the output as a “Date”. Don’t forget to add a field label/name!
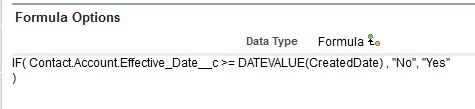
In this field, you’ll want to set it up with the following formula:
IF( checkbox_field__c = TRUE, NOW(), NULL)
Where the checkbox_field__c is the name of the checkbox field you have.
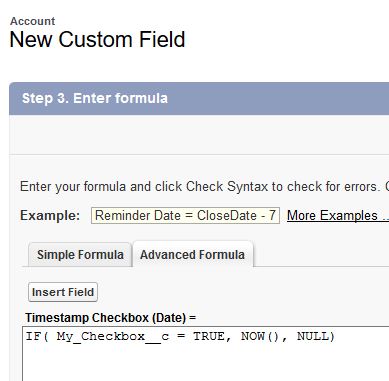
What the above formula does is see if the Checkbox we created is checked (or True in the above), and it will make the formula return the date as date “Now”. This method is great as it is relatively straightforward formula to timestamp the date, and unchecking the Checkbox Field will remove the date.
What if you wanted to keep the date until removed by a System Admininistrator or other user? That is the one caveat the formula field has – if the checkbox is checked, the formula will give (and keep) whenever NOW was. On the other hand, if the checkbox moves to unchecked, it will remove the date field in the formula. In the next method, using a field update will keep the date until removed by a user.
In the next section, we’ll go into how to use a workflow rule and field update to manage our requirement of timestamping a date field.
Method 2: Using a Workflow Rule & Field Update to Timestamp a Date
Using a workflow rule & field update that can timestamp a date field is a little bit more work to implement, but does not have the draw back of the formula method. Removing the checkbox will cause the formula to not return ‘true’, and can erase valuable historical data down the line.
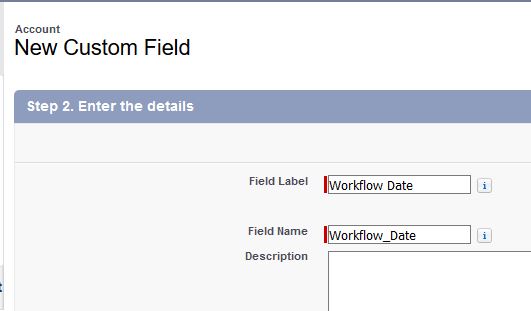
First, we’ll just create a ‘date’ field. Again, we’re assuming that the Checkbox field is already created:
Next, we’ll want to create a workflow rule. We start this by selecting the object that we want the rule to apply to. In our case, it is the Account object.
 The next step is to give it a name, and decide the evaluation criteria.

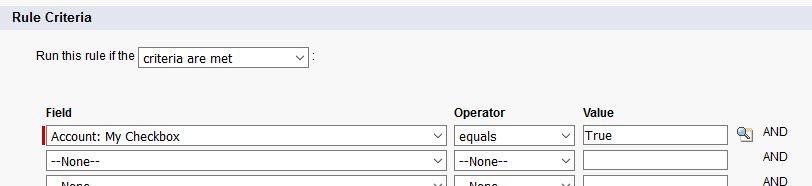
Part of the rule criteria process is seeing that the checkbox we created, “My Checkbox” turns true:
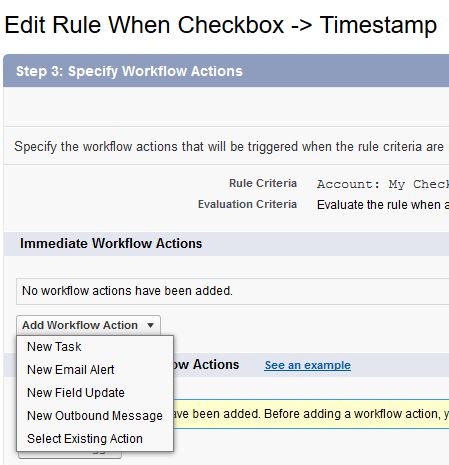
What a workflow rule does is that it takes a look at conditions, and if true, provides actions. These actions can be sending emails, updating fields, creating tasks, or creating an outbound message. In our case, we’ll want to create a new field update. What this will do is tell the workflow rule to update the field that we will define.
Here we tell the new Field update to timestamp the Workflow Date field with the formula, which is just “Now”:

Once that has been created, let’s activate the workflow rule:
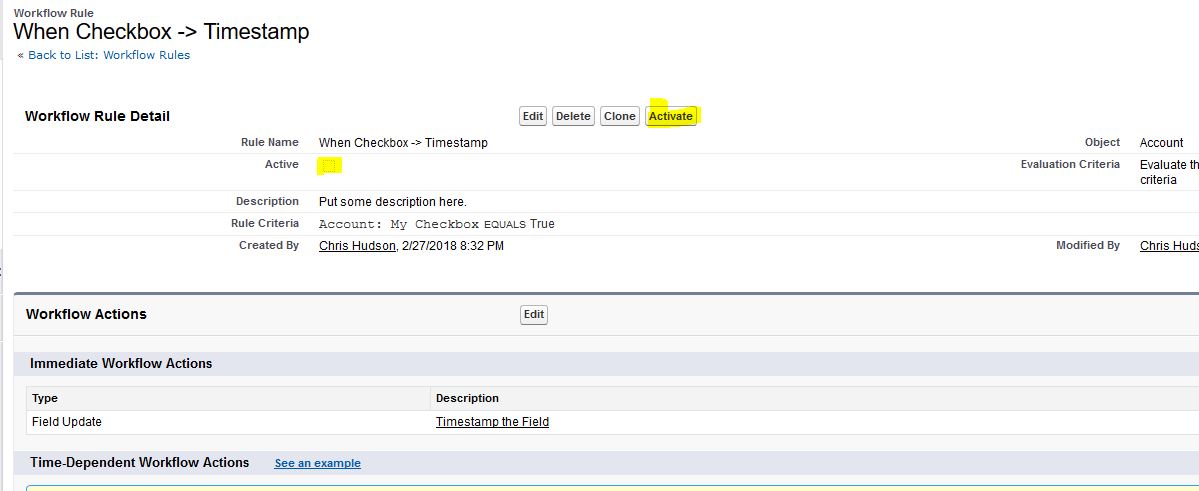
Now that the workflow rule & field update have been built and activated, let’s just verify that it works by checking the box on the Account page:

Congrats, it works!
Differences and Use Cases:
Each of the above methods are two distinct ways that can have varying use cases that are different in each circumstance. There is actually a third and final way to solve this requirement, and that follows the KISS Principle. Keep It Simple. After learning about the requirement from your end user, sometimes all that is needed is one person or a team of people to take ownership of the dates. We solve this by simply creating a date field, and locking it down to specific User Profiles or lock it down completely, and provide access through permission sets.
Which method do you use to timestamp date fields? Let me know in the comments below!